OPNsense 25.1 installation guide for Protectli Vault series
Introduction & installer pre-seed
This document describes preparation and usage of OPNsense Serial Installer in Dasharo testing environment. For start, an USB stick with OPNsense serial installer is required. All OSFV test IDs and names are referring to the following test suite:
dasharo-compatibility/os-opnsense.robot
Installation media preparation
Such an item may be prepared using dd program. Example:
sudo dd if=~/Downloads/OPNsense-25.1-serial-amd64.img of=/dev/sdX bs=1M status=progress
After dd command finished, execute:
sync
And after that, use fatlabel program, to rename ESP partition of USB stick.
sudo fatlabel /dev/sdX1 OPNEFI
Label "OPNEFI" is required by test cases OPN001.503.
Semi-manual bsdinstall modification
Further preparation of OPNsense installation media requires an access to bootable FreeBSD-compatible operating system, running on hardware with usable USB port.
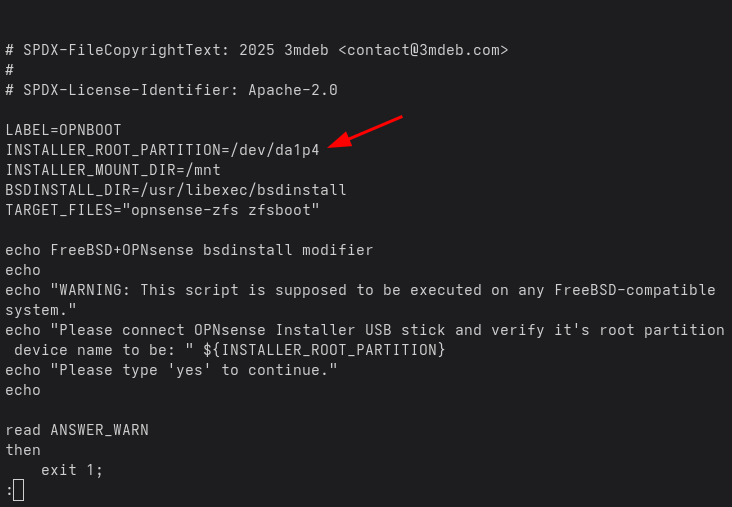
Following script: preseed_opnsense.sh must be transferred to this system, and installation media must be connected to USB port.
Open the script in text editor and adjust the value of variable INSTALLER_ROOT_PARTITION, so it points correctly on installer's root partition.
Tip
FreeBSD-specific command gpart show may help with partition identification.
Save eventual changes and execute the script. Verify device name and confirm it
with yes and ENTER.

From now, any modified bsdinstall part would be listed and differences would be
shown. Accept any change with yes and ENTER.
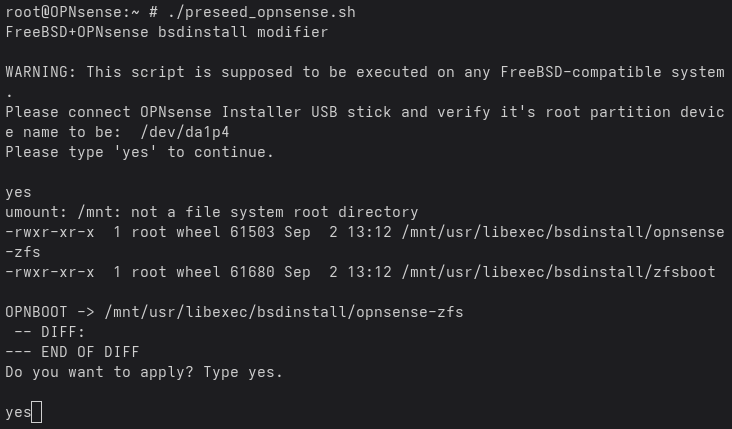
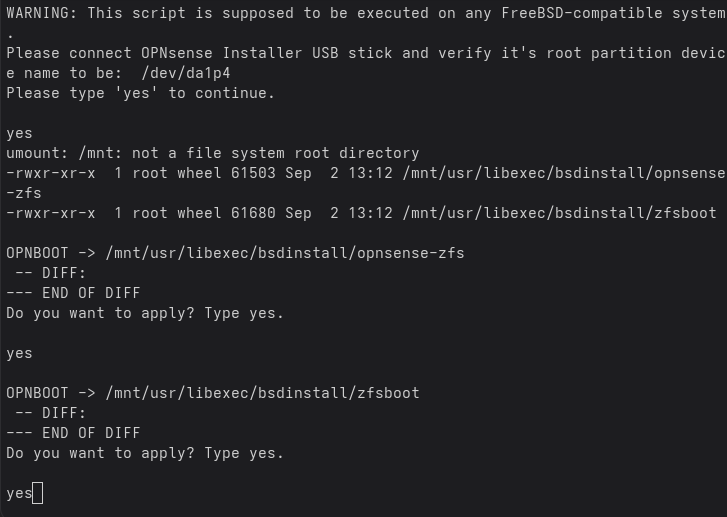
Notice
DIFFs on the screenshots are empty, example execution has been done on already modified bsdinstall.
Script should exit without any errors:
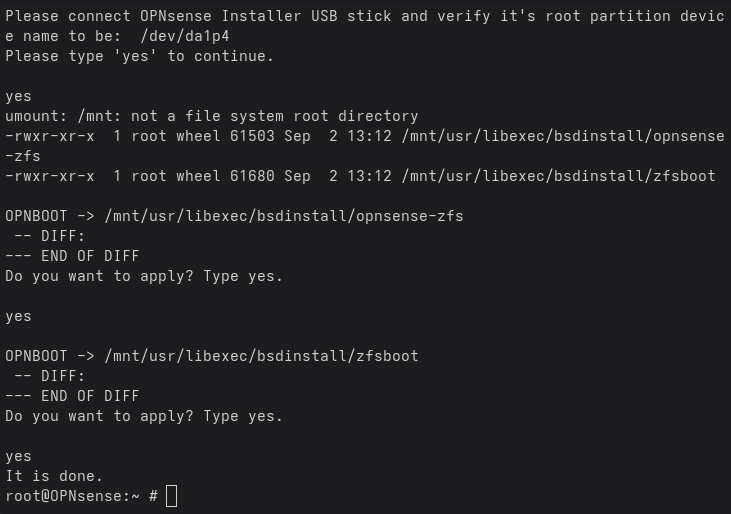
Success
Installation media is now ready for further operation.
Installation procedure
With installation media connected to DUT via USB and target drive connected to DUT via SATA, run following test case:
OPN001.503 Install operating system on disk (OPNsense)
and wait for following dialog message:
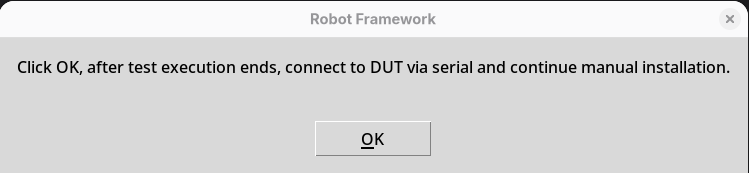
Confirm with OK, wait for test suite to finish, and connect to DUT via serial.
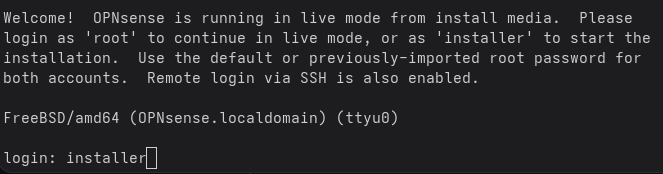
If nothing is displayed, try arrow keys, do not press ENTER at this point.
You should be asked for installer credentials. Log in with:
login: installer
Password: opnsense
Now select keymap, or navigate to Select and confirm default with ENTER.
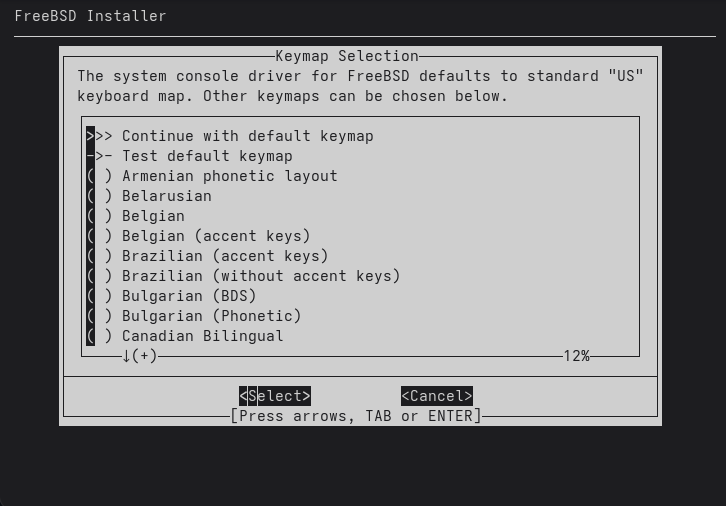
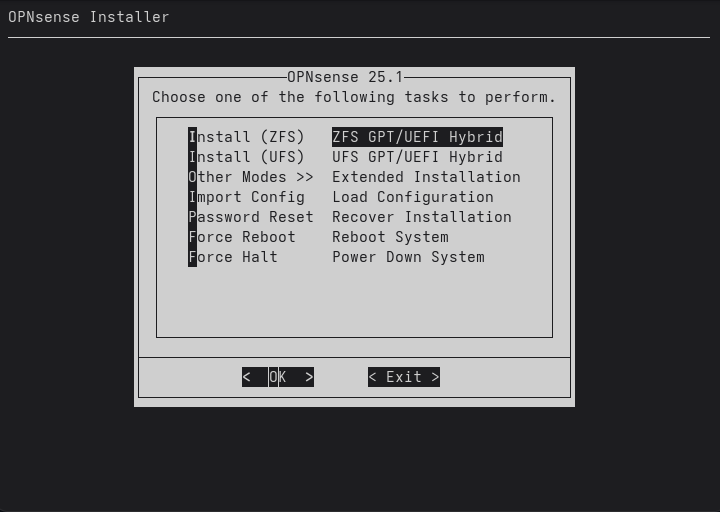
To begin installation, select Install (ZFS), navigate to OK and press ENTER.
Now, the ZFS pool name question may appear:
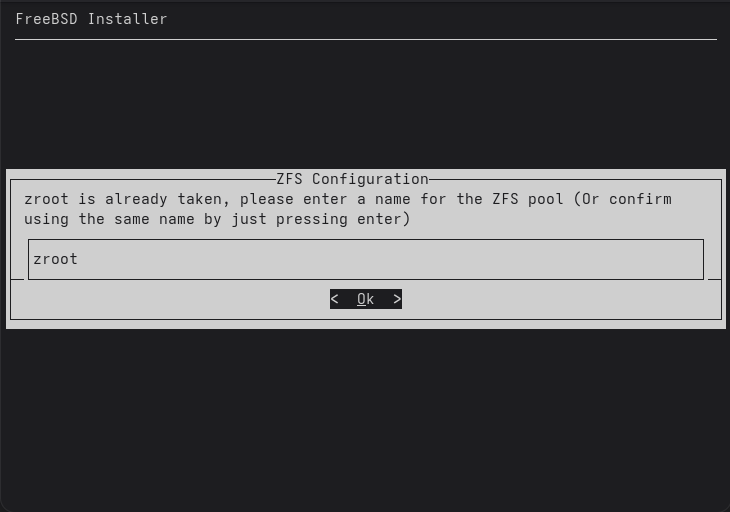
Confirm with ENTER.
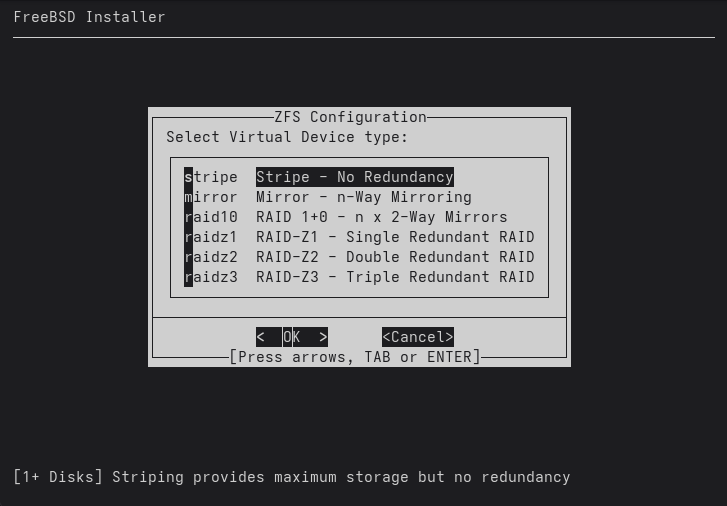
Choose stripe, navigate to OK and press ENTER.
Mark ada0 drive (this is first SATA drive) using SPACE, navigate to OK
using TAB and press ENTER:
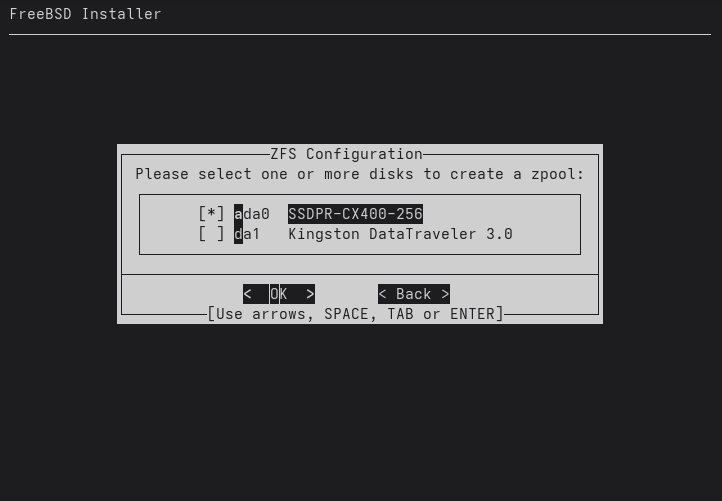
Warning
Select installation target drive carefully. You will be asked for confirmation once again, right now.
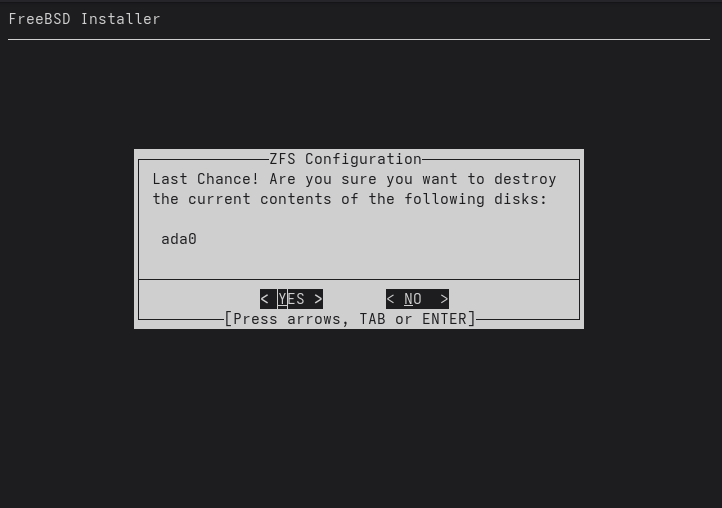
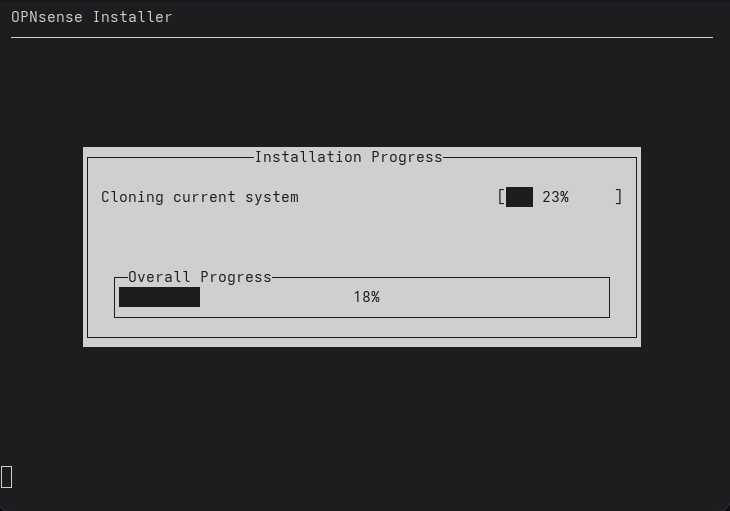
Installation now begins.
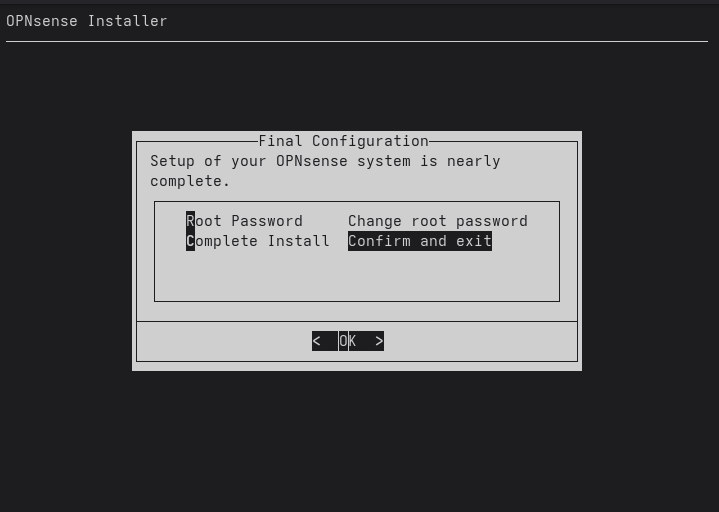
After installation finished, navigate to Complete Install and press ENTER.
On next screen, select Halt now and press ENTER.
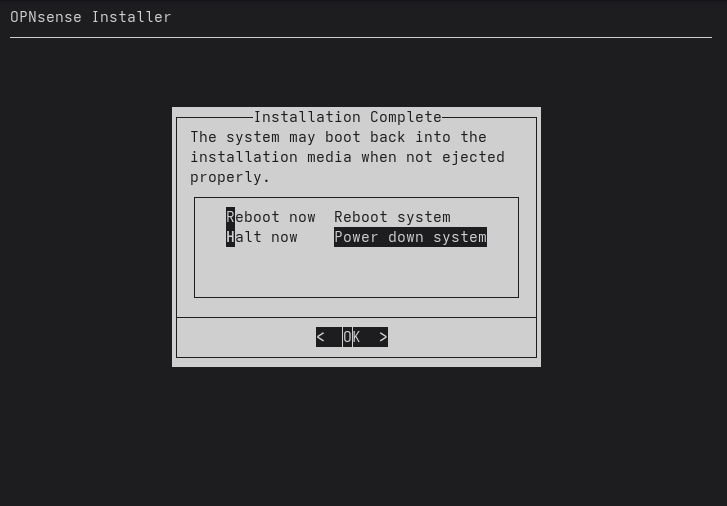
Success
OPNsense installation is now finished. Testing environment will be able to boot
this by OS searching for OPNBOOT ESP partition.
Testing
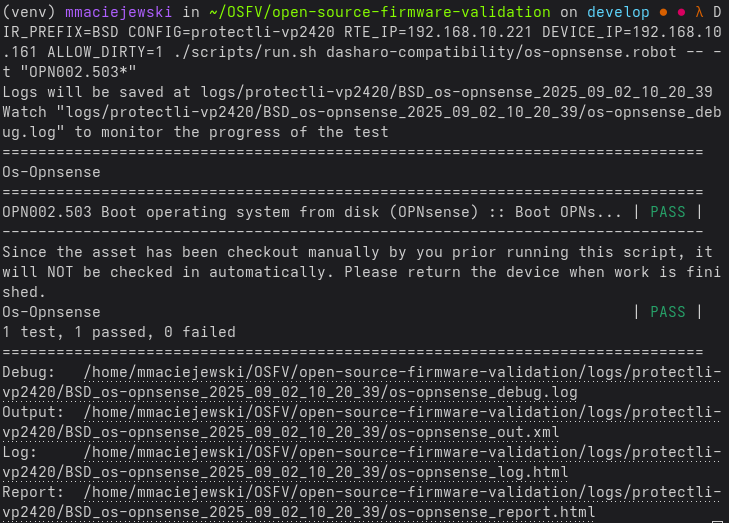
To verify testing readiness of finished installation, OS boot test may be executed. Run:
OPN002.503 Boot operating system from disk (OPNsense)