Taking screenshots in firmware
Introduction
Dasharo EDKII fork comes with the functionality of taking screenshots. This is useful for creating guides, how-tos and tests. This document is meant to show the best practices for taking screenshots.
Resolution
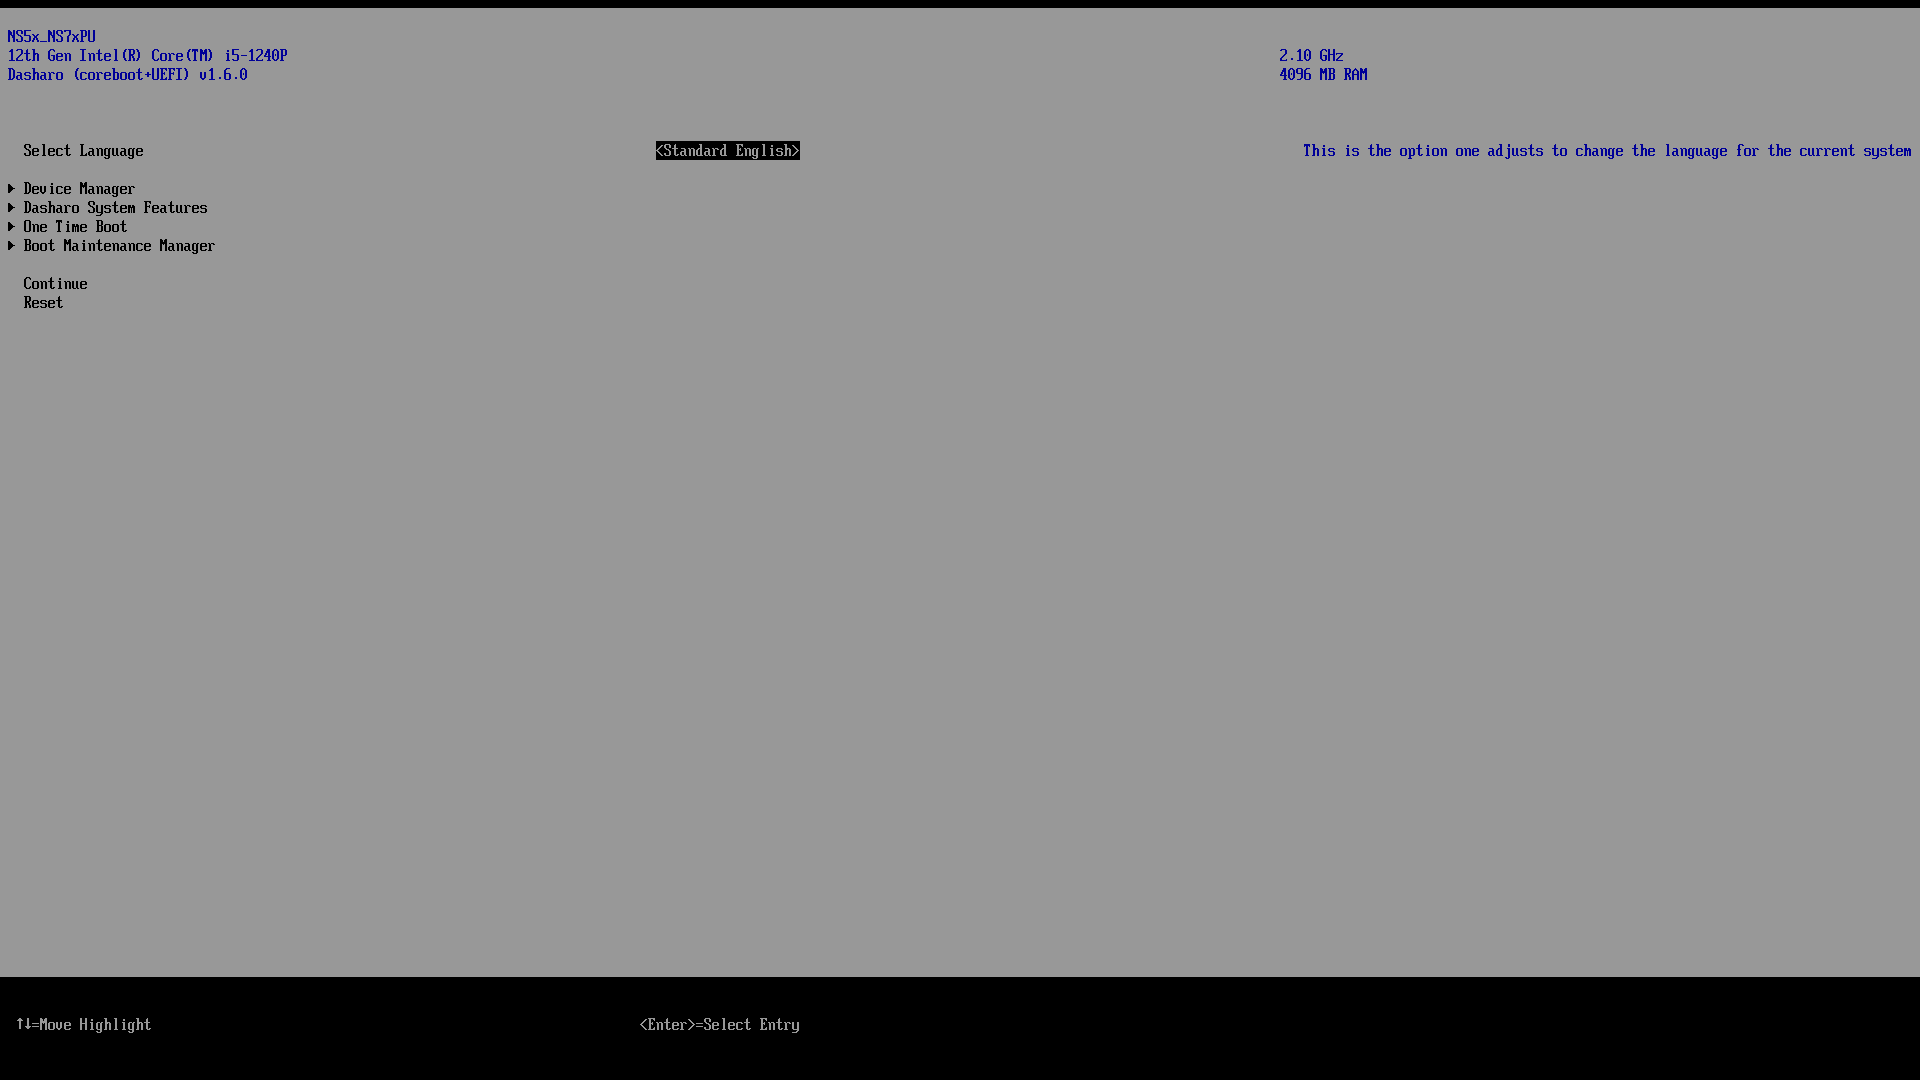
When taking screenshots, remember to set the display mode to 80x25. This makes the pictures easier to read when embedded into documentation. Notice how this:
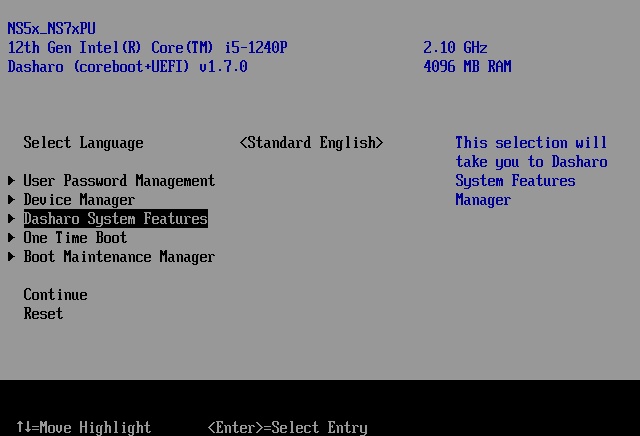
is easier to read than this:
To set the mode in UEFI:
- Enter the UEFI Setup Menu
- Select
One Time Boot - Select
UEFI Shell - Type in
mode 80 25and press Enter to switch mode - Type in
exitto go back to setup menu
You can browse the setup menu to take your screenshots now.
Taking screenshots
The key combination for taking screenshots is LCtrl + LAlt + F12. When
taking screenshots, you'll notice a colored status indicator in the top left
corner of the screen. The colors indicate:
- Yellow - no writable FS found, screenshot is not taken
- Blue - current GOP is pitch black, screenshot is not taken
- Red - something went wrong, screenshot is not taken
- Green - screenshot taken and saved to PNG file
PNG files are saved to the first writable partition, which will in most cases be the EFI System Partition. You can mount the ESP in Dasharo Tools Suite, e.g.:
# mount /dev/nvme0n1p1 /mnt
and then copy the files from there, or just scp them to your workstation.
PiKVM
If a platform has PiKVM connected and configured, you can use it to take screenshots instead. This makes it easier to save taken screenshots to your workstation.
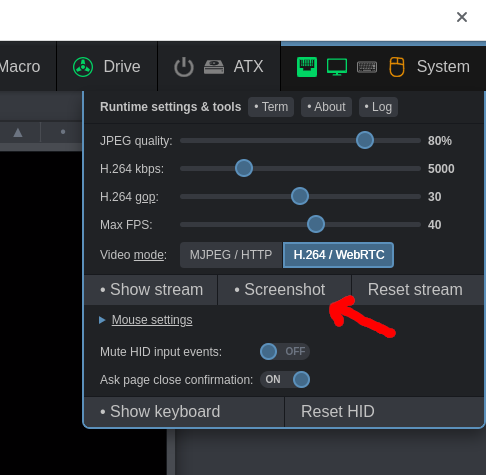
To take a screenshot in PiKVM, simply click on the System menu in the
top-right corner of the page and click on Screenshot:
This will open the screenshot in a new tab. From there you can right-click ->
Save image as..., or simply press Ctrl + S to save the image.
Cropping
If you changed the mode prior to taking the screenshot, you'll notice that the
screenshot captured the entire framebuffer with the small content screen
centered in the middle. You'll need to crop them to size for usage in docs. You
can do this using GIMP's Crop to Content feature.