Twonkie Introduction
Twonkie is an open source USB Power Delivery protocol sniffer and debugging tool, created by Joachim "dojoe" Fenkes, based on Google's Twinkie. It can:
- Measure voltage and current on the Vbus and Vconn rails (version 2.0 can handle EPR voltages up to 48V)
- Capture USB-PD packets for later analysis
- Pass through signals at full speed (20Gb/s lanes are verified to work)
- Send USB-PD packets
Twonkie can be bought in 3mdeb shop.
Links:
Setup
Preparation
- USB Micro-B cable
- Twonkie v2.0
- USB-PD power meter
For flashing and using the Twonkie, you will need to install dfu-util and
minicom. You can find them in your Linux distro's repositories:
sudo apt install dfu-util minicom
sudo dnf install dfu-util minicom
sudo pacman -S dfu-util minicom
Flashing
Steps to flash firmware to the Twonkie:
- Download the latest firmware from the project's release page In our case, for Twonkie v2.0
- While holding the SW1 button on the Twonkie, connect it to your computer using a USB micro-B cable
-
Verify in
lsusbthat the device has booted in DFU mode:lsusb | grep 0483:df11 Bus 003 Device 083: ID 0483:df11 STMicroelectronics STM Device in DFU ModeIf not detected, the button was probably not pressed.
-
Navigate to the location where you downloaded the firmware
-
Flash the firmware:
The command may take a long time to complete (~30 minutes). Do not be alarmed if progress appears to stop. The percentage counting should start after ~5 minutes.
sudo dfu-util -a 0 -s 0x08000000 -D ~/Downloads/twonkiev2-20230611.binIf you see
DFU state(10) = dfuERROR, status(10) = Device's firmware iscorrupt. It cannot return to run-time (non-DFU) operationsthis is a status message from STM describing why DFU mode was entered. Flashing is probably working properly -
Disconnect and reconnect the newly flashed Twonkie to reboot it into the firmware
-
Verify in
lsusbthat the device has booted into firmware:lsusb | grep 18d1:500a Bus 003 Device 084: ID 18d1:500a Google Inc. Twinkie
Testing
Sniffing a PD negotiation
-
Open minicom on Twonkie's console:
sudo minicom -D /dev/ttyUSB0 -
Type in
tw trace onto start logging
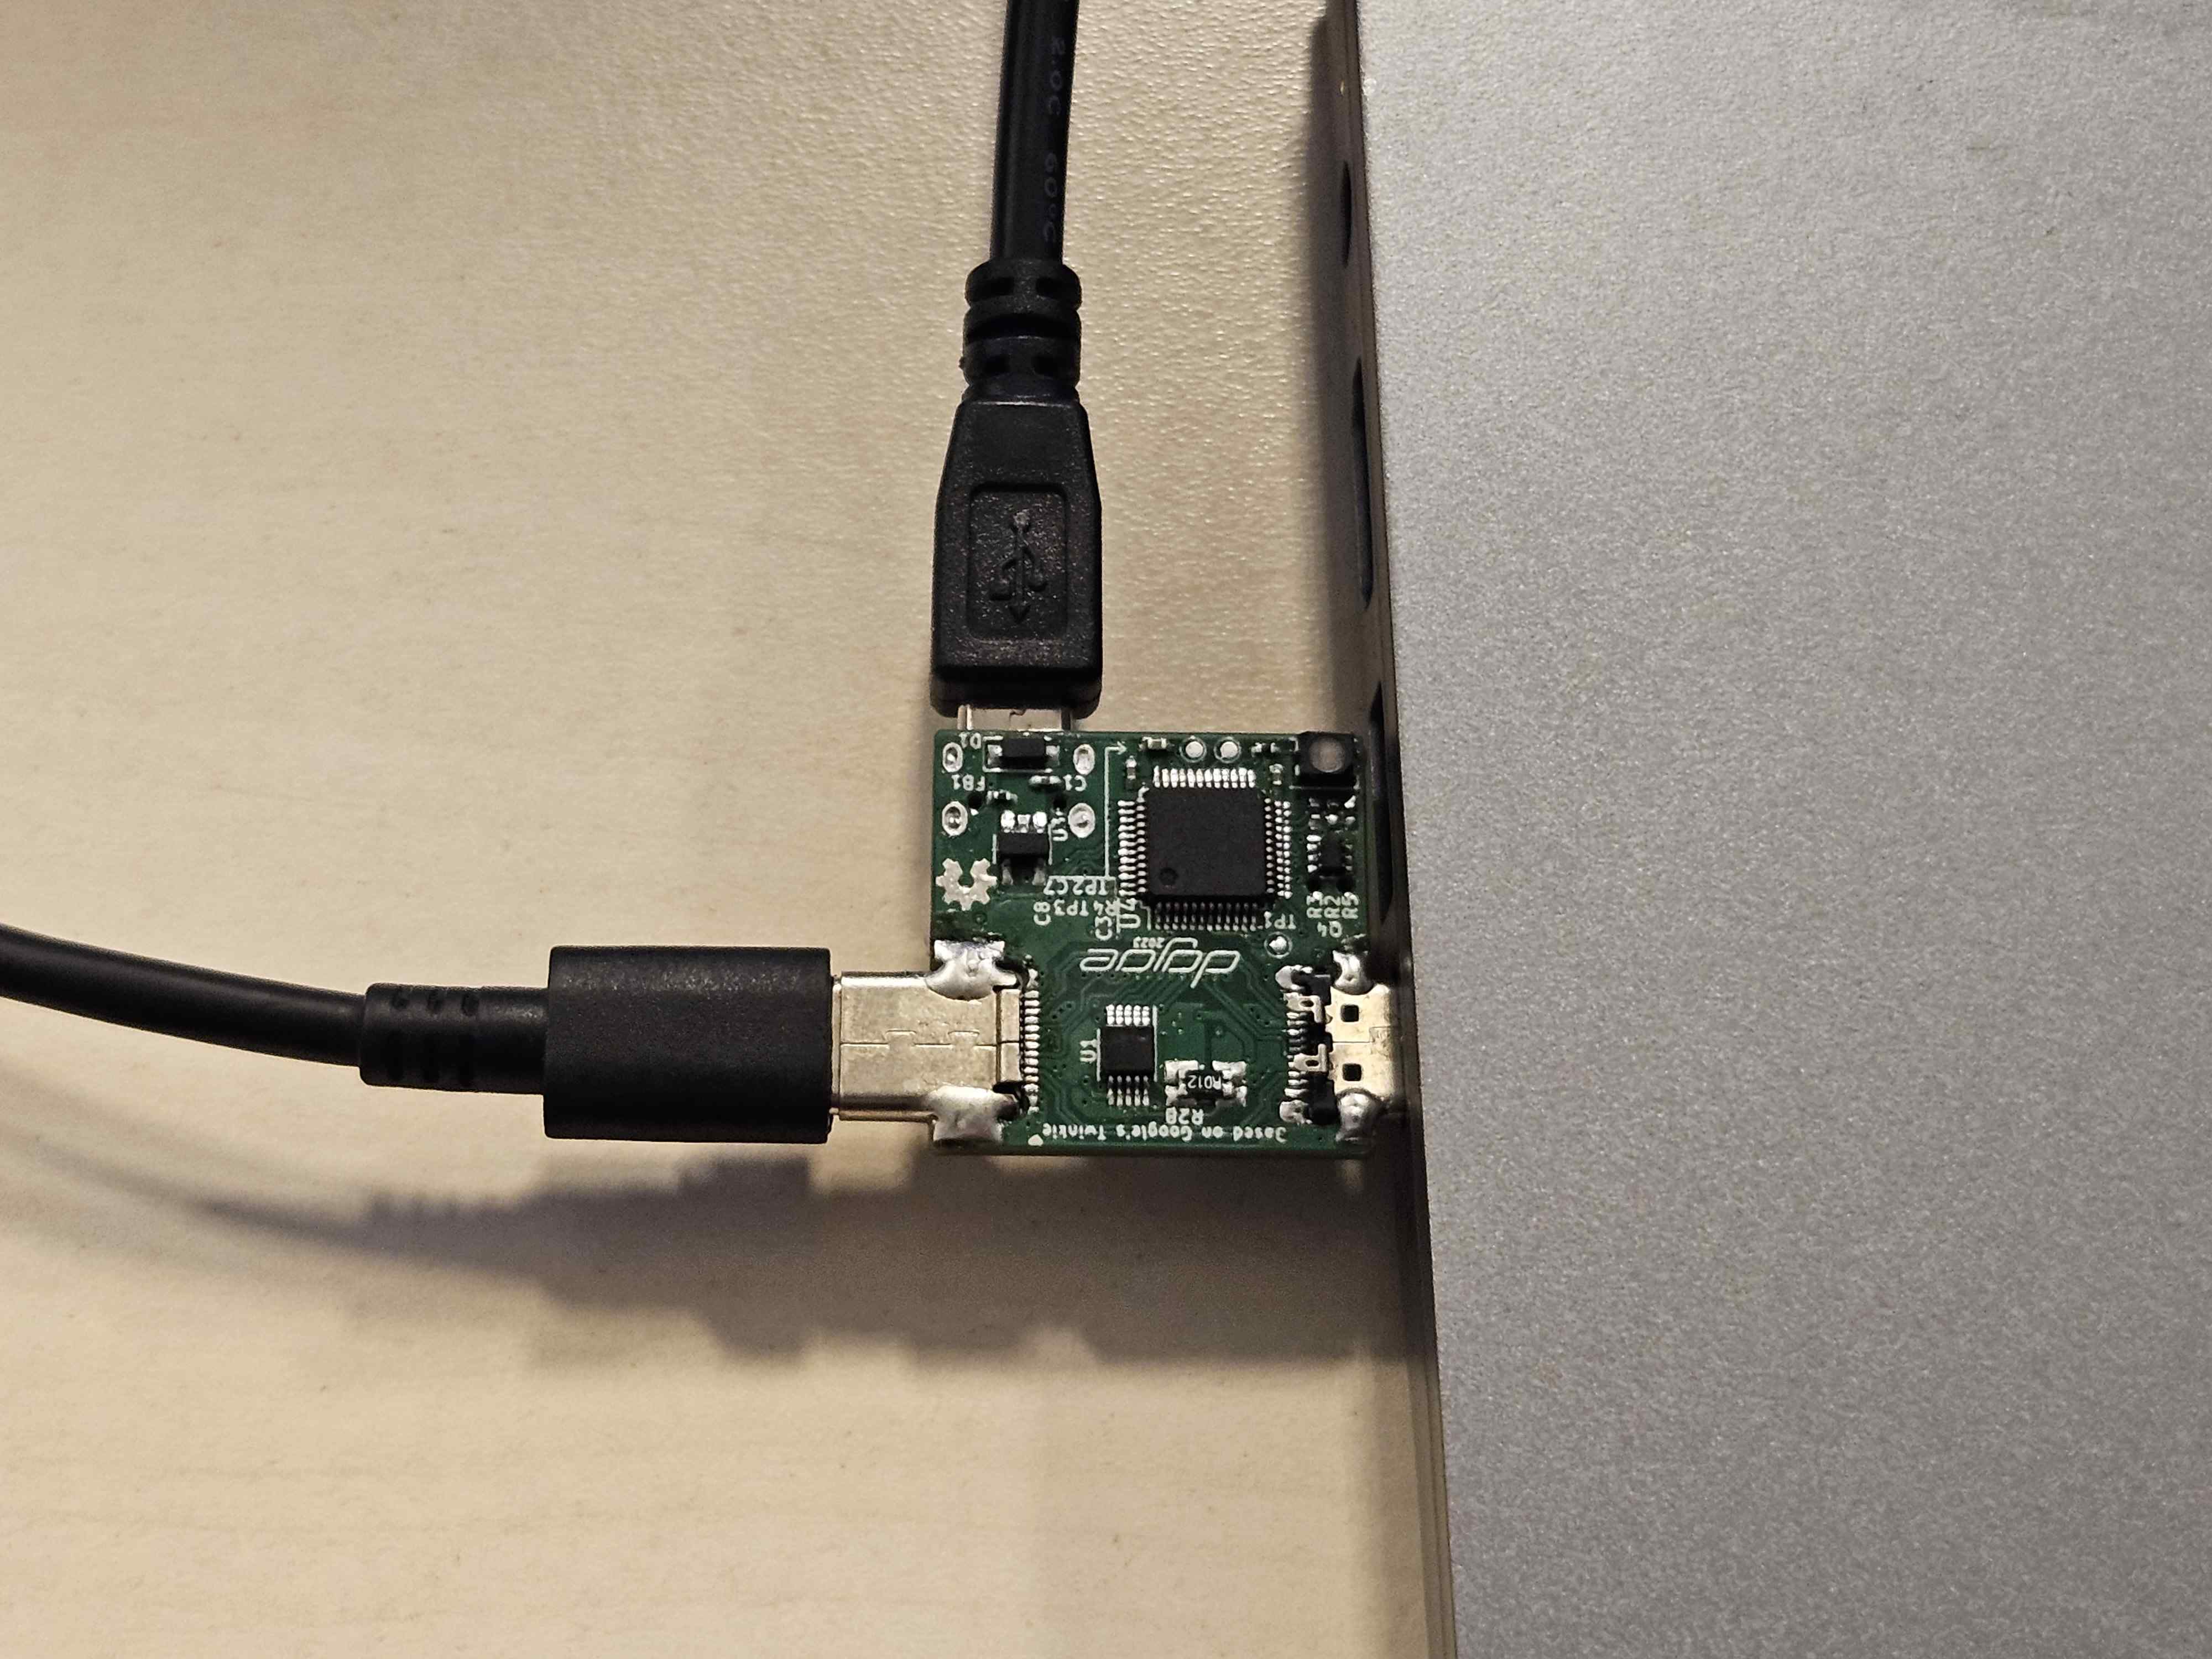
LEDs stops lighting
- Connect a twonkie between a USB-PD power supply and a USB-PD power sink
- Verify that the device is charging and logs appear on the screen
Example output:
> tw trace on
33.754913 SRC/0 [41a1]SRCCAP 5000mV/3000mA 9000mV/3000mA 15000mV/3000mA 20000mV/3250mA
33.906189 SRC/0 [41a1]SRCCAP 5000mV/3000mA 9000mV/3000mA 15000mV/3000mA 20000mV/3250mA
34.057128 SRC/0 [41a1]SRCCAP 5000mV/3000mA 9000mV/3000mA 15000mV/3000mA 20000mV/3250mA
34.208091 SRC/0 [41a1]SRCCAP 5000mV/3000mA 9000mV/3000mA 15000mV/3000mA 20000mV/3250mA
34.359253 SRC/0 [41a1]SRCCAP 5000mV/3000mA 9000mV/3000mA 15000mV/3000mA 20000mV/3250mA
34.360608 SNK/0 [0041]GOODCRC
34.364597 SNK/0 [1082]REQUEST{4} 43851545
34.365421 SRC/0 [0121]GOODCRC
34.367411 SRC/1 [03a3]ACCEPT
34.368118 SNK/1 [0241]GOODCRC
34.593451 SRC/2 [05a6]PSRDY
34.594166 SNK/2 [0441]GOODCRC
34.595642 SRC/3 [17af]VDM Vff00:DISCSVID,INI:ff00a002
34.597310 SRC/3 [17af]VDM Vff00:DISCSVID,INI:ff00a002
34.598213 SNK/3 [0641]GOODCRC
34.602898 SNK/1 [328f]VDM Vff00:DISCSVID,ACK:ff00a042 8087ff01 00000000
34.603946 SRC/1 [0321]GOODCRC
Measuring voltage and current
-
Open minicom on Twonkie's console:
sudo minicom -D /dev/ttyUSB0 -
Connect a twonkie between a USB-PD power supply and a USB-PD power sink
- Type in
tw vbusto display the voltage and current measurement
Example output:
> tw vbus
VBUS = 20112 mV ; -1274 mA
Power sink
-
Open minicom on Twonkie's console:
sudo minicom -D /dev/ttyUSB0 -
Connect a twonkie between a USB-PD power supply and a USB-PD power meter
- Type in
tw sinkto enable sink mode - the firmware will reboot at this point - Type in
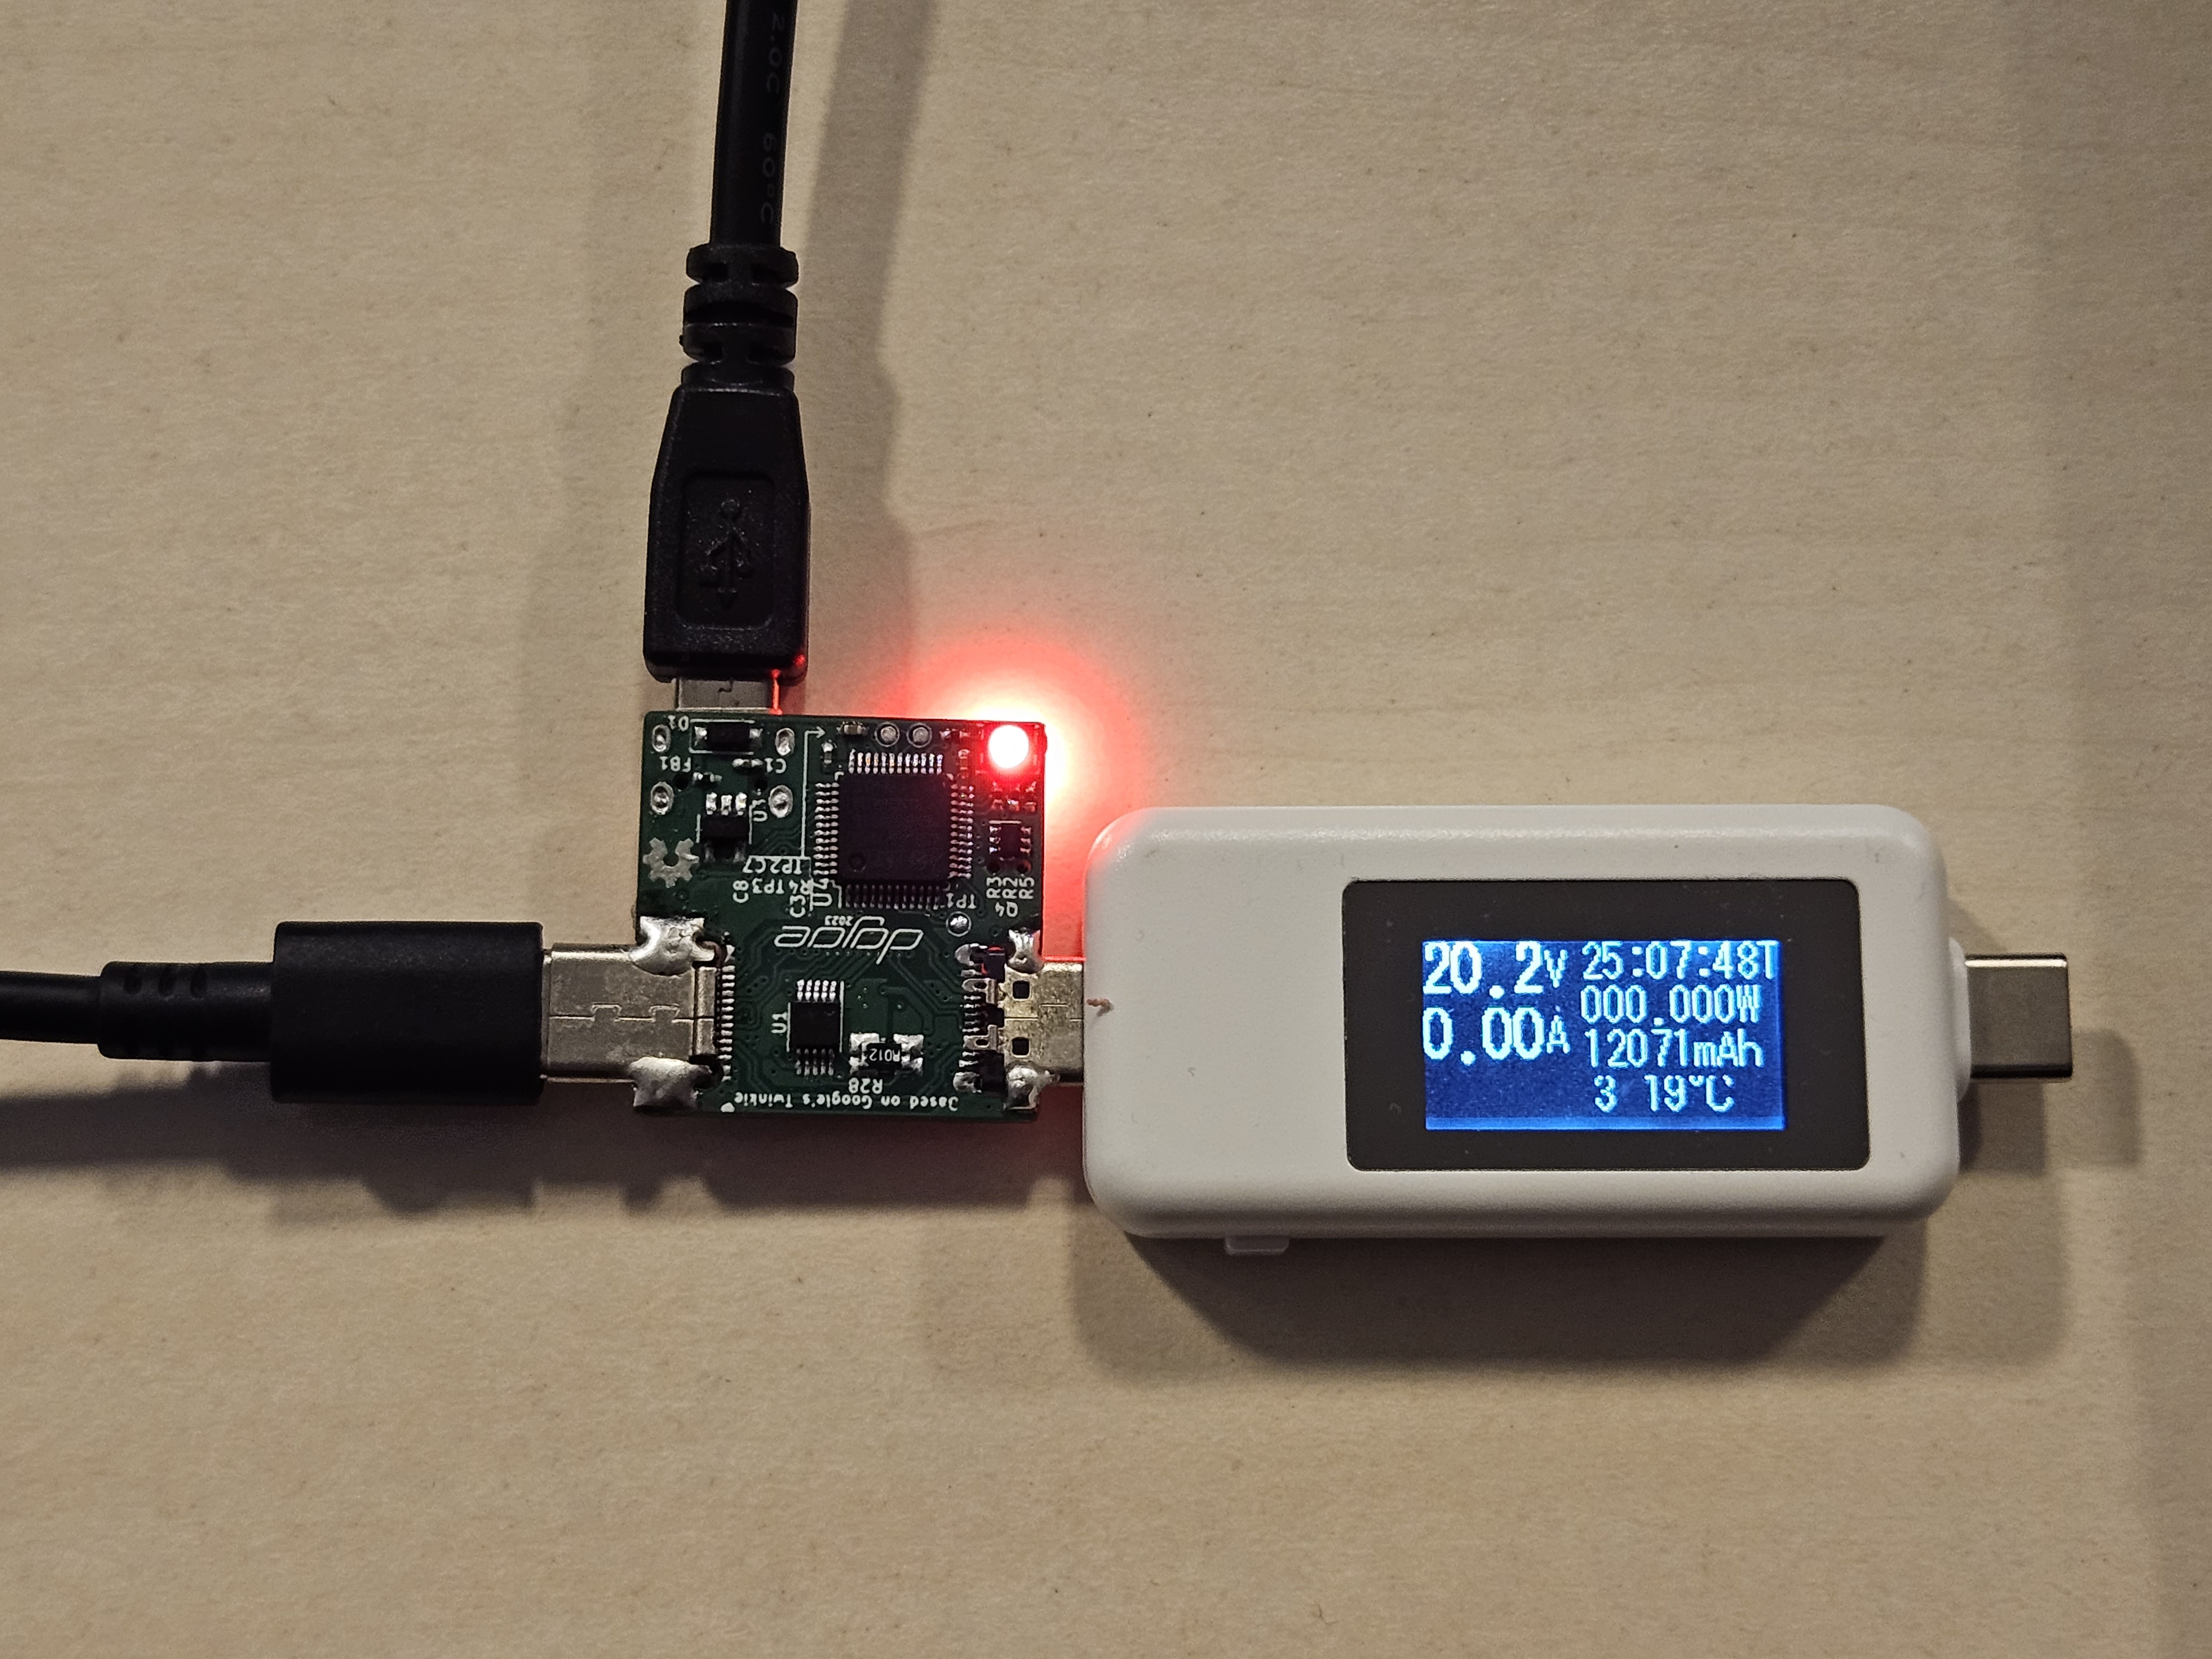
pd 0 dev 20to set voltage limit to 20V - Verify that the power meter turns on and displays 20V measured at the USB-C plug
-
Verify that the RGB LED has changed its color to red
- For the 5V limit the LEDs are GREEN.
- For the 9V, 12V, 15V limit the LEDs are BLUE.
- For the 20V limit the LEDs are RED.
Example of a successful test: