pfSense 2.7.2 installation guide for Protectli Vault series
Introduction & installer pre-seed
This document describes preparation and usage of pfSense Serial Installer in Dasharo testing environment. For start, an USB stick with pfSense serial installer is required. All OSFV test IDs and names are referring to the following test suite:
dasharo-compatibility/os-pfsense.robot
Installation media preparation
Such an item may be prepared using dd program. Example:
sudo dd if=~/Downloads/pfSense-CE-memstick-serial-2.7.2-RELEASE-amd64.img of=/dev/sdX bs=1M status=progress
After dd command finished, execute:
sync
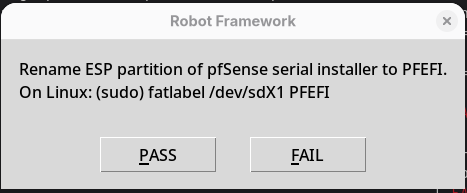
And after that, use fatlabel program, to rename ESP partition of USB stick.
sudo fatlabel /dev/sdX1 PFEFI
Label "PFEFI" is required by test cases PFS001.502, PFS006.502 & PFS007.502.
Automated bsdinstall modification
Please run test case: PFS006.502
Follow the dialogs, confirm steps with PASS:
If already renamed the ESP, now move USB stick to DUT USB port:

Confirm with PASS and wait for test to finish positively:
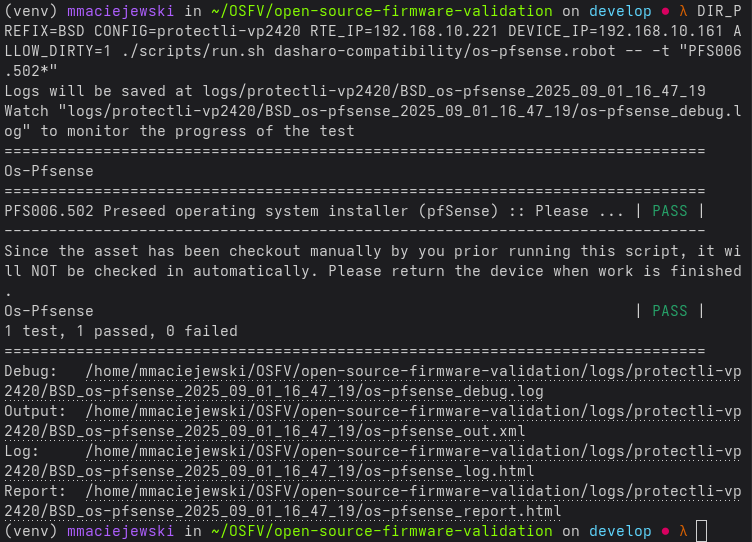
Success
Installation media is now ready for further operation.
Installation procedure
With installation media connected to DUT via USB and target drive connected to DUT via SATA, run following test case:
PFS001.502 Install operating system on disk (pfSense)
and wait for following dialog message:
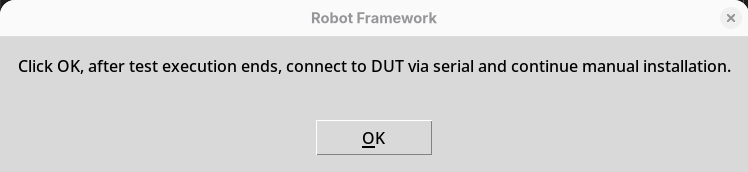
Confirm with OK, wait for test suite to finish, and connect to DUT via serial.
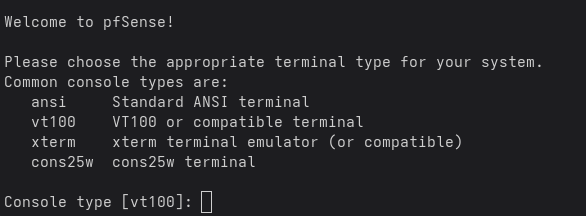
If nothing is displayed, try arrow keys, do not press ENTER at this point.
You will be asked for terminal type, confirm VT100 with ENTER:
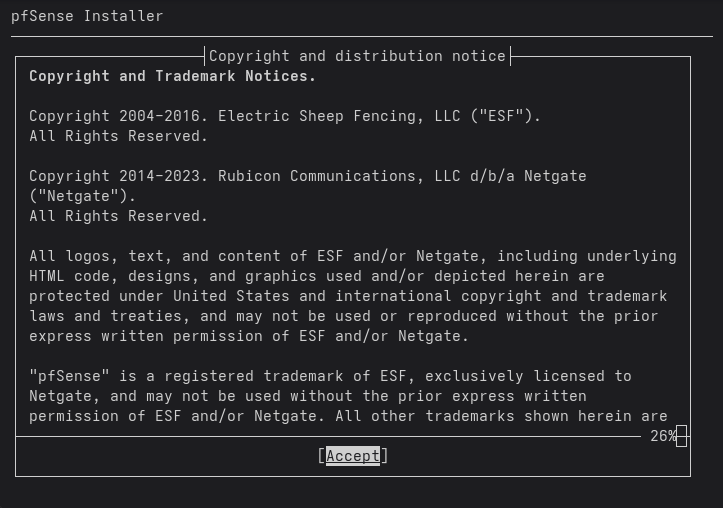
Then accept legal notice with ENTER:
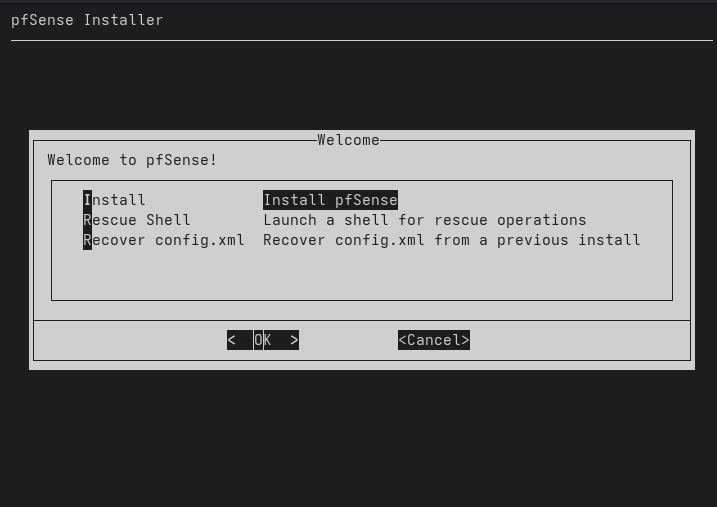
Then, in main menu select Install pfSense, navigate to OK and press ENTER.
Now, the ZFS pool name question may appear:
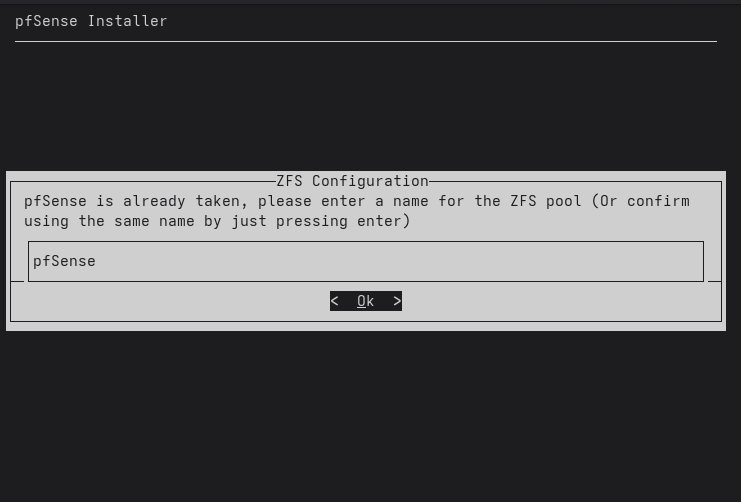
Confirm with ENTER.
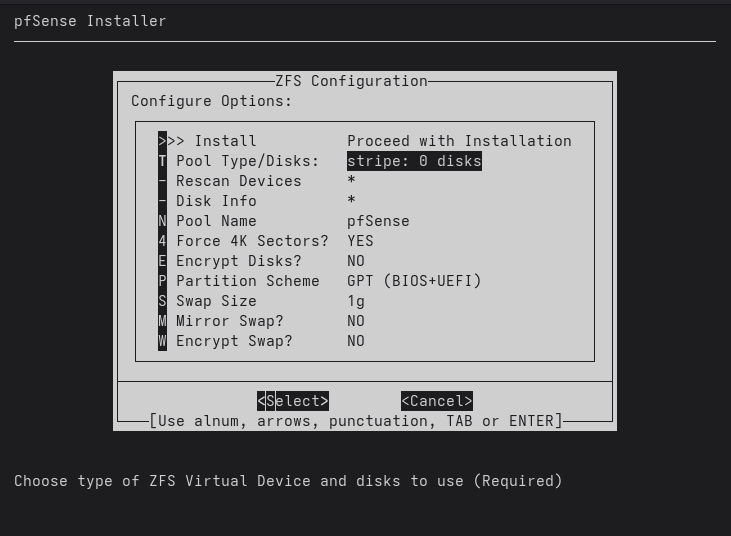
Now select 'Pool Type/Disks' and press ENTER:
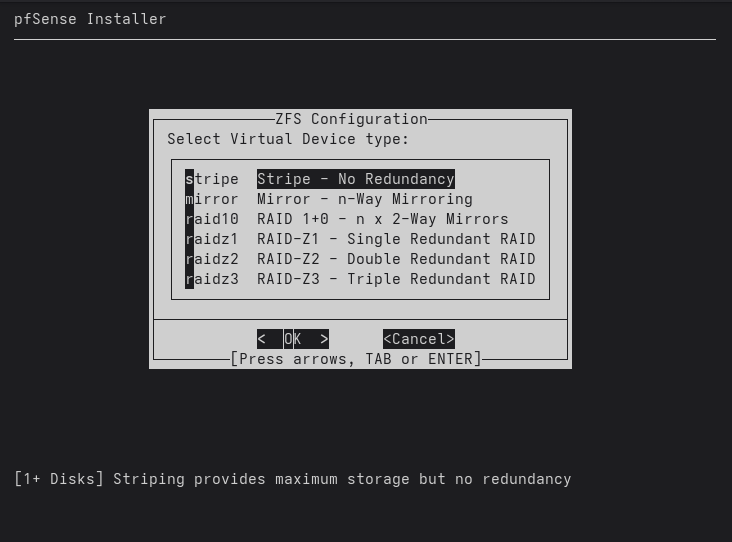
Select stripe, navigate to OK with TAB and press ENTER:
Mark ada0 drive (this is first SATA drive) using SPACE, navigate to OK
using TAB and press ENTER:
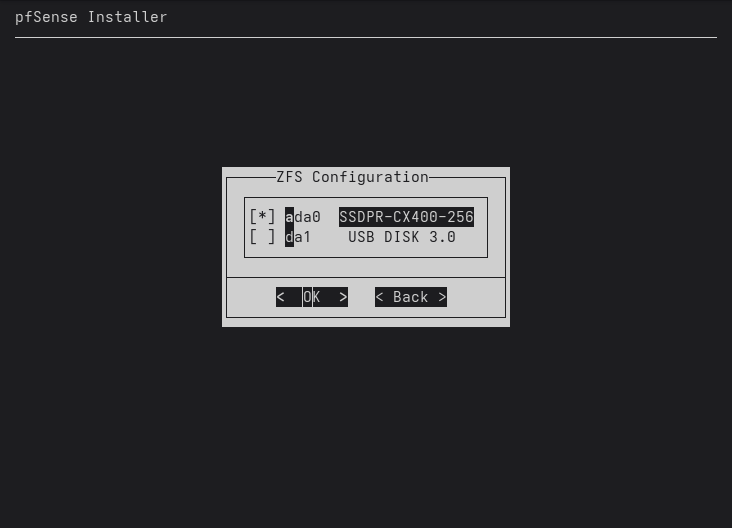
Warning
Select installation target drive carefully. You will be asked for confirmation once again, before actual installation start.
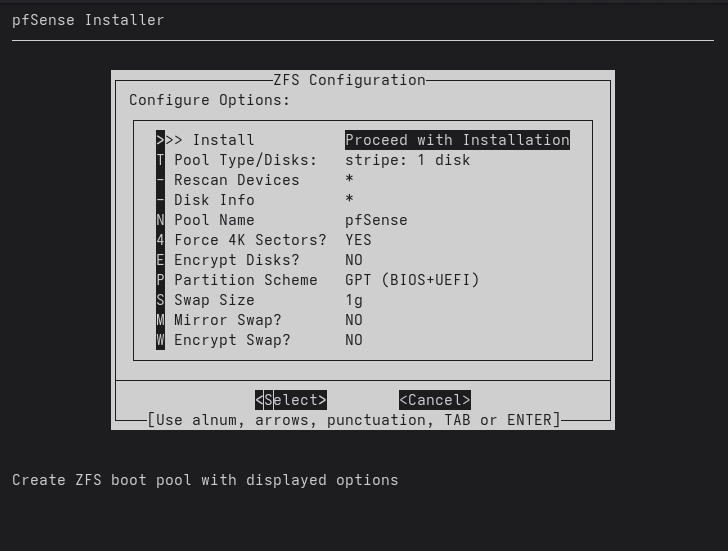
On previous screen, select Proceed with Installation using arrow keys, navigate
to Select using TAB and press ENTER:
Asked for data destruction and ada0, select YES and press ENTER:
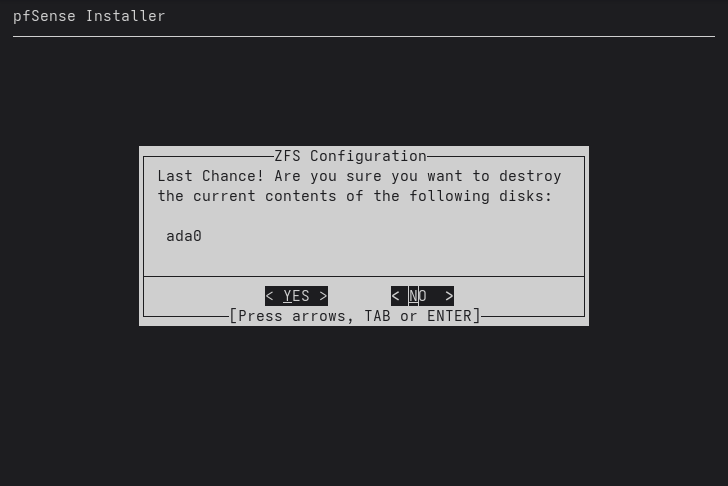
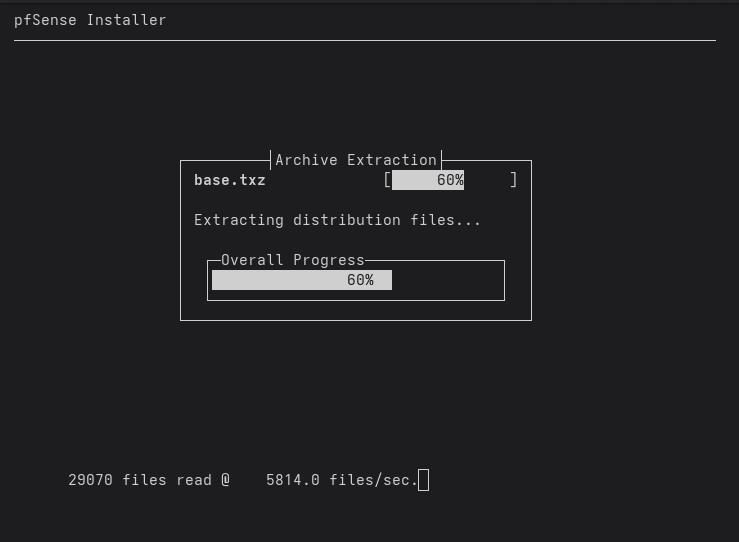
Installation now begins.
After installation finished, navigate to Reboot and press ENTER:
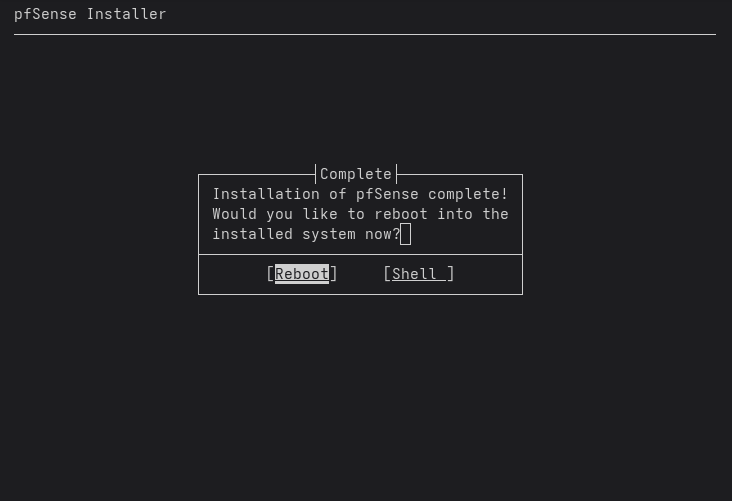
Tip
Do not disconnect serial terminal connection yet!
First boot
Tip
To boot into installed OS, use Dasharo Boot From File functionality and
navigate to ESP partition labeled PFBOOT.
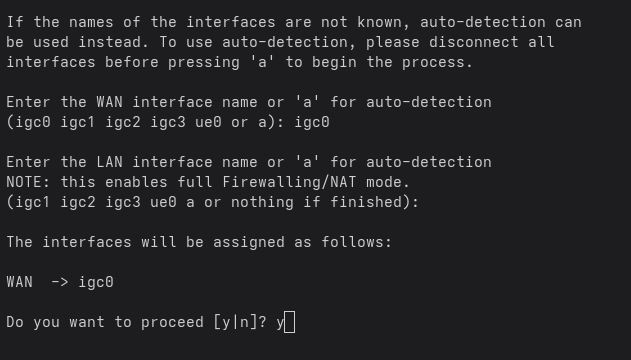
After first reboot, you have to configure WAN network interface name manually.
Type in the name of network interface which is connected to lab network, usually
first on the list in the brackets, and press ENTER.
Do not enter LAN interface name, press ENTER again.
Confirm interfaces assignment with y and press ENTER.
Wait until pfSense main menu appears, choose to either halt or reboot,
confirm with Y:

Success
pfSense installation & configuration is now finished. The testing environment
will be able to boot this OS by searching for PFBOOT ESP partition.
Testing
To verify testing readiness of finished installation, OS boot test may be executed. Run:
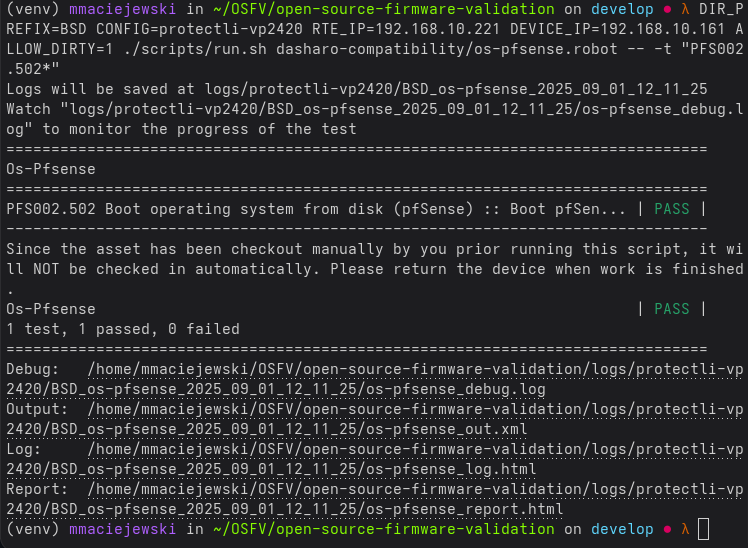
PFS002.502 Boot operating system from disk (pfSense)
and check test output, expecting PASS: